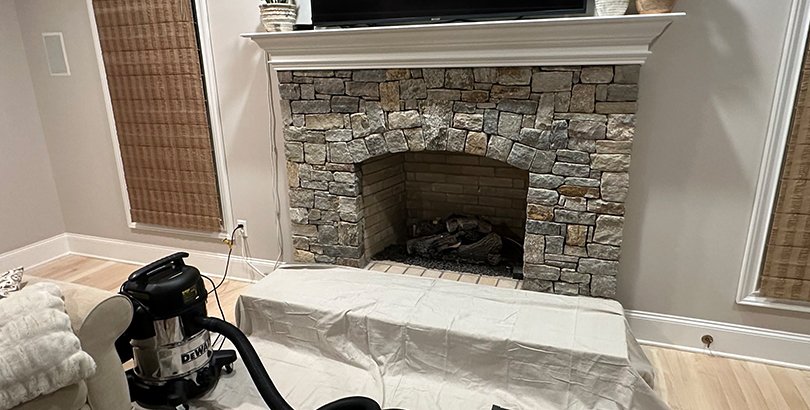
Quick answer: Before your first fire, review your last inspection report, look over the chimney and fireplace from safe spots, test your smoke and carbon monoxide alarms, and book a professional inspection. A chimney that sat unused all summer is not automatically safe to use. Water, debris, nests and last winter’s damage can all be sitting inside it.
Key takeaways
- Months without a fire do not mean your chimney is in good shape.
- You can check some things from the ground and inside the house. The flue and chimney top need a trained technician.
- An inspection tells you what work, if any, you need. Cleaning is separate.
- Smoke in the room, visible damage or a sounding alarm means stop using the fireplace until it is checked.
The first cold evening of fall makes the fireplace look inviting. But your chimney has been sitting idle for months, and idle is not the same as ready. Spring rain, summer storms, birds, squirrels and leftover buildup can all change how it performs.
Work through the steps below. Steps 1 to 4 take about 15 minutes. Steps 5 and 6 are the ones that need a professional.
Why chimneys need attention before heating season
Your chimney does not get a summer break from wear:
- Leftover problems. Unfixed repairs and buildup from last season are still there.
- Water. Rain gets in through a damaged cap, crown or flashing, and weakens brick, mortar and metal over time.
- Debris. Leaves and twigs collect in the flue.
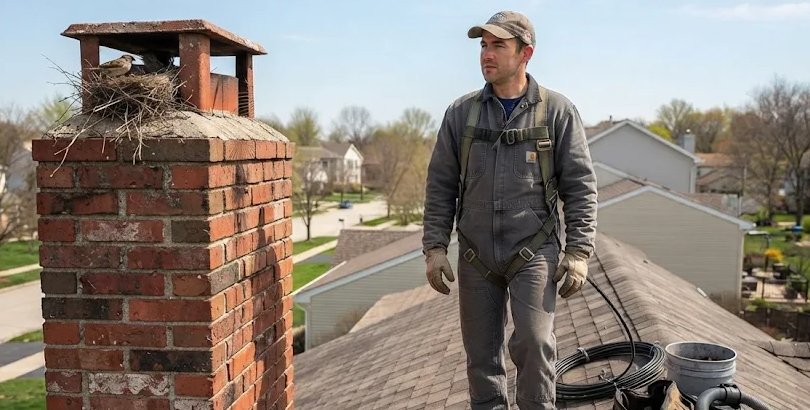
- Animals. Birds and small animals nest in chimneys, especially without a cap or with a damaged one.
- Weather damage. Storms loosen or damage the cap and other parts.
You cannot see inside the flue or on top of the chimney from the yard. That is what a professional inspection is for.
Your fall chimney checklist at a glance
| You can check (about 15 minutes) | A professional should handle |
|---|---|
| Review your last report | Chimney inspection |
| Look at the chimney from the ground | Cleaning, if needed |
| Check the firebox and nearby walls | Repairs, if needed |
| Check the damper | |
| Prepare firewood and the fireplace area | |
| Test smoke and CO alarms |
Step 1: Review your last inspection and cleaning
Find the date of your last inspection and the report, if you have one. Ask yourself:
- When was it last inspected?
- Were repairs recommended, and were they done?
- Has anything changed, such as a new insert or stove, a different fuel, or heavier use?
Cleaning and inspection are not the same. Cleaning removes buildup. An inspection checks condition and tells you whether you need cleaning, repair or nothing. NFPA 211 recommends that chimneys, fireplaces and vents be inspected at least once a year. Learn more: Chimney cleaning vs. inspection.
Can’t find your last report? Treat it as overdue and book a fresh inspection.
Step 2: Look for exterior damage from the ground
Walk around the house and look up, using binoculars if you have them. Stay off the roof. Roof work is dangerous and should be left to professionals.
Look for:
- Crumbling or missing mortar
- Cracked, broken or flaking bricks
- White, brown or dark staining on the masonry
- A leaning chimney
- A missing, bent or rusted cap
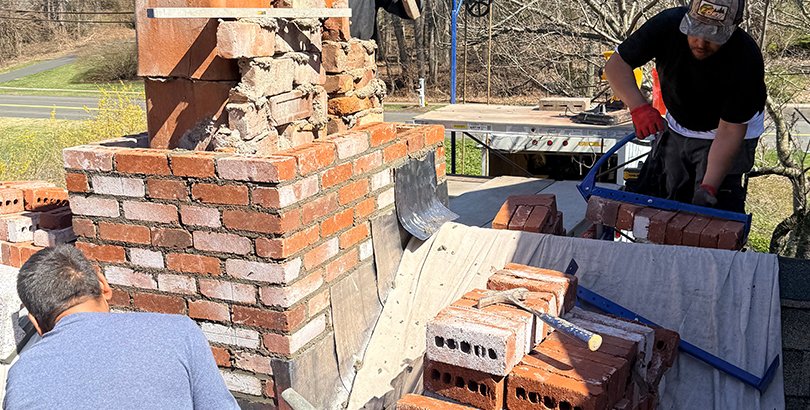
- Damaged metal flashing where the chimney meets the roof
Take photos of anything that looks off. They help your technician.
Spotted something? Tell us what you saw. Describe what you found and we will tell you whether it needs an inspection. Book an inspection or call (860) 854-1894.
Step 3: Check the firebox and nearby walls
Use a flashlight and look for:
- Cracked or loose bricks or panels
- Pieces of tile, brick or mortar in the firebox
- Water stains or puddles
- Rust on metal parts
- Musty or unusual smells
Also check the walls and ceiling near the chimney for stains or peeling paint. These can point to a leak. Note what you find and photograph it.
Step 4: Check the damper
The damper is a movable plate that opens to let smoke out and closes to keep outside air from coming in. Open and close it gently. Note if it sticks, looks rusted or bent, or if you cannot tell whether it is open or closed. Follow your fireplace manufacturer’s instructions. If it does not work properly, mention it when you book.
Step 5: Book a professional chimney inspection
This is the most important step. A trained technician checks the parts you cannot safely see or reach, inside and out. If something looks wrong, or the system has changed, a camera inspection of the flue may be recommended.
Not every inspection covers the same things, so ask what is included when you book.
Book your fall chimney inspection. Inspections start at $69 and basic chimney cleaning starts at $199, with 10% off for seniors and veterans. Book an inspection or call (860) 854-1894.
Step 6: Clean only when needed
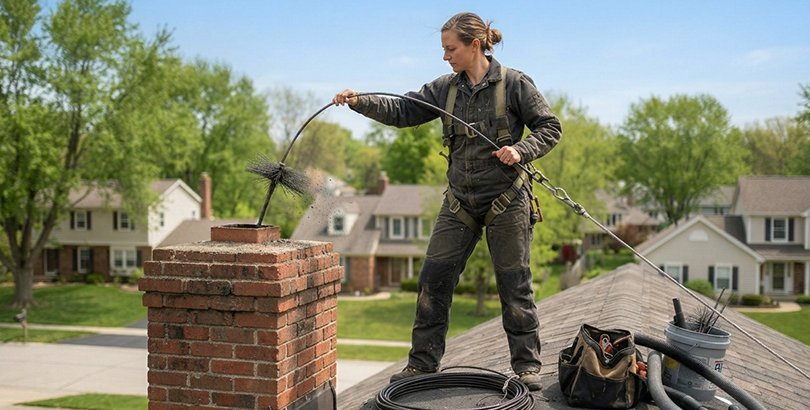
Burning wood leaves soot and creosote inside the chimney. Creosote is flammable, and too much of it raises the risk of a chimney fire. Debris and nests can block the flue. An inspection tells you whether you need cleaning and what kind, so you only pay for what the chimney needs. Learn more: What is creosote?.
Step 7: Prepare firewood and the fireplace area
- Use seasoned wood. Split and dried, usually six months or longer. Wet or green wood makes more smoke and buildup.
- Burn only what your fireplace is designed for. No trash, cardboard, wrapping paper, or treated or painted wood.
- Clear the area. Keep furniture, rugs and decorations a safe distance away, following the manufacturer’s clearances.
- Check your screen or doors. Make sure screens and glass doors are in good shape.
Step 8: Test smoke and carbon monoxide alarms
Test every smoke and CO alarm in the home. Follow the manufacturer’s instructions for testing, batteries and replacement. Most alarms have an expiration date printed on them. This is also a good time to review your family’s escape plan: two ways out of each room and a meeting spot outside.
Stop using your fireplace if you notice any of these
Do not use the fireplace until a professional has checked it if you see:
- Smoke coming into the room instead of going up the chimney
- An unexplained blockage, such as a nest or debris
- Damage such as fallen brick or tile, a leaning chimney or large cracks
- Signs of a past chimney fire: warped metal, cracked flue tiles, or puffy, honeycomb-looking buildup
- A carbon monoxide alarm going off
Emergencies come first. If a CO alarm sounds or anyone feels dizzy, sick or confused, get everyone outside to fresh air and call 911 from outside. Do not go back in until responders say it is safe. If you think you have a chimney fire (loud roaring, heavy smoke, or flames or sparks from the top), get everyone out and call 911.
Found one of these? Don’t light the fire. Let us look first. Call (860) 854-1894 to schedule an inspection and explain what you saw. Or book online.
What to expect from Armstrong’s visit
- Confirmed scope. We confirm what the inspection includes before we start.
- Clear findings. We explain what we found, with photos where possible.
- Practical recommendations. We tell you whether you need cleaning, repair or nothing.
- Honest advice. Any repair recommendation is based on the actual condition of your chimney, not a standard package.
Frequently asked questions
Does an unused chimney still need attention?
Yes. Even with little use last season, water, debris, animals and weather still affect it. Annual inspection is the recommended starting point. Book yours here.
Is cleaning the same as inspection?
No. Cleaning removes soot, creosote and debris. An inspection checks condition and tells you what work, if any, you need. Many homeowners book both together. Ask us about combining them.
Can I check my chimney myself?
You can look for visible warning signs from the ground and inside the house. You cannot safely see inside the flue or the chimney top, and you should never climb onto the roof. A professional inspection covers the rest.
What if I can’t find my last inspection report?
Treat it as overdue. Tell the technician you do not have the old report so they can give you a full picture of the chimney’s condition. Schedule an inspection.